These days, protecting your online privacy is more important than ever. Whether you’re trying to stay safe on public Wi-Fi, stream your favourite shows while traveling, or just keep your data out of the wrong hands, a VPN (Virtual Private Network) is a simple but powerful tool.
One of the most popular and user-friendly options out there is Surfshark VPN. If you’ve just signed up or are considering giving it a try, this step-by-step guide will walk you through everything you need to know to get started—no tech degree required.
What is Surfshark VPN, Anyway?
Before we dive into the how-to, here’s a quick refresher: Surfshark VPN creates a secure, encrypted tunnel between your device and the internet. That means your data stays private, your real IP address is hidden, and you can access websites and content that might be blocked in your region. It’s a great way to take back a little control in an increasingly connected (and tracked) online world.
Step 1: Sign Up for a Surfshark Account
Head over to Surfshark’s official website and choose a plan that works for you. The longer-term options tend to be much cheaper per month, and they often run deals, so keep an eye out for discounts.
After choosing a plan, create your account by entering your email address and payment details. Once you’re signed up, you’ll be able to download the app for your device.
Step 2: Download and Install the App
Surfshark works on a wide variety of platforms including:
- Windows
- macOS
- Android
- iOS
- Linux
- Smart TVs
- Browsers (Chrome, Firefox)
- Even some routers
Just download the app for your specific device from either their website or your app store. The installation process is super simple—just follow the prompts.
Step 3: Log In and Get Familiar
Once installed, open the app and log in with the email and password you used during sign-up.
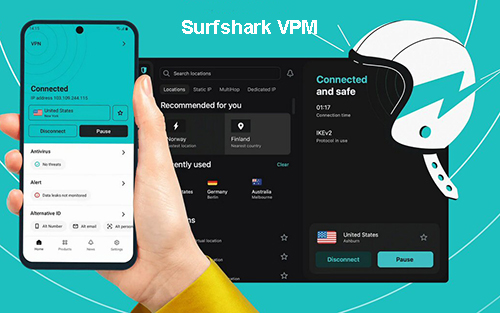
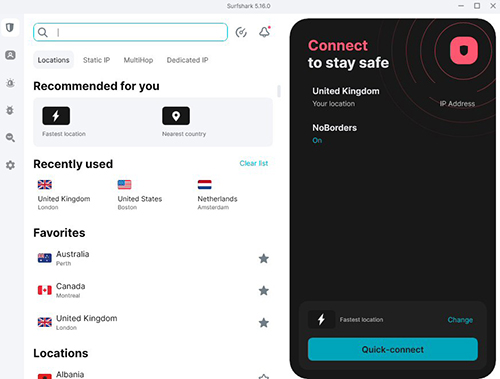
You’ll land on a clean, user-friendly interface. On most devices, there’s a big “Connect” button right in the center. Tap it, and Surfshark will automatically connect you to the fastest available server.
But don’t stop there—take a minute to poke around. You’ll see options like:
- Location list – Choose a server from a specific country or city.
- MultiHop – Route your traffic through two different countries for extra privacy.
- CleanWeb – Surfshark’s built-in ad, tracker, and malware blocker.
Step 4: Connect to a VPN Server
To start using the VPN, just click or tap the Connect button. That’s it.
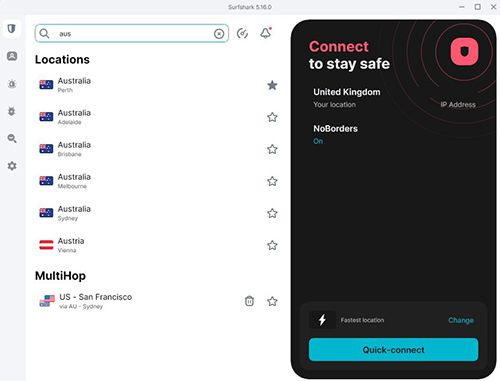
Want to appear as if you’re in another country? Click on Locations and select the region you want. For example:
- Connect to a US server to access American streaming content.
- Connect to a UK server to watch British shows on BBC iPlayer.
- Connect to a nearby server for general browsing speed and security.
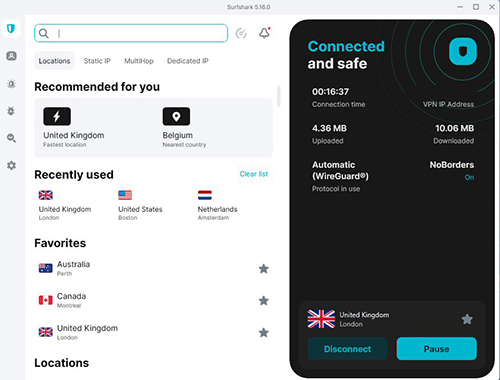
Once connected, Surfshark will encrypt your connection, hide your IP address, and protect your data.
Step 5: Explore Extra Features (Optional but Awesome)
Surfshark comes with a few neat bonus features worth checking out:
- Kill Switch – Automatically cuts your internet if the VPN drops, to prevent unprotected browsing.
- Whitelister – Let certain apps or websites bypass the VPN if needed (useful for banking or local apps).
- Split Tunneling – Choose which traffic goes through the VPN and which doesn’t.
- NoBorders Mode – Helps you connect even in restrictive countries.
You can access these from the Settings or Features tab, depending on your device.
Step 6: Use It Daily
Once you’ve connected, you’re good to go. The VPN will run quietly in the background. You can browse, stream, or work like normal—but with the added bonus of privacy and peace of mind.
If you’re on a mobile device, Surfshark can start automatically when your phone connects to Wi-Fi or data. You can also set it to auto-connect when your device turns on.
Final Thoughts
That’s it—you’re officially using Surfshark VPN like a pro. Whether you’re trying to stay secure on public Wi-Fi, bypass location blocks while traveling, or just value your online privacy, Surfshark makes it incredibly easy.
Plus, with unlimited devices on one account, you can protect your phone, laptop, tablet, and even your smart TV—all at once.